

Pompoms!
Pompoms are such an easy way to give that little extra spice to a hat or a scarf, or a cushion. Pompoms can be used to make little decorations and sculptures on their own as well as embellishment on garments.
Video tutorial - how to make a pompom using a pompom maker
A few key points when making pompoms

It takes lots of yarn!
No matter which type of template or pompom maker you’re using it’s important to fill the template full, otherwise the pompom won’t come out full and fluffy. I often use several strands to wind on the pompom maker to make it go quicker.
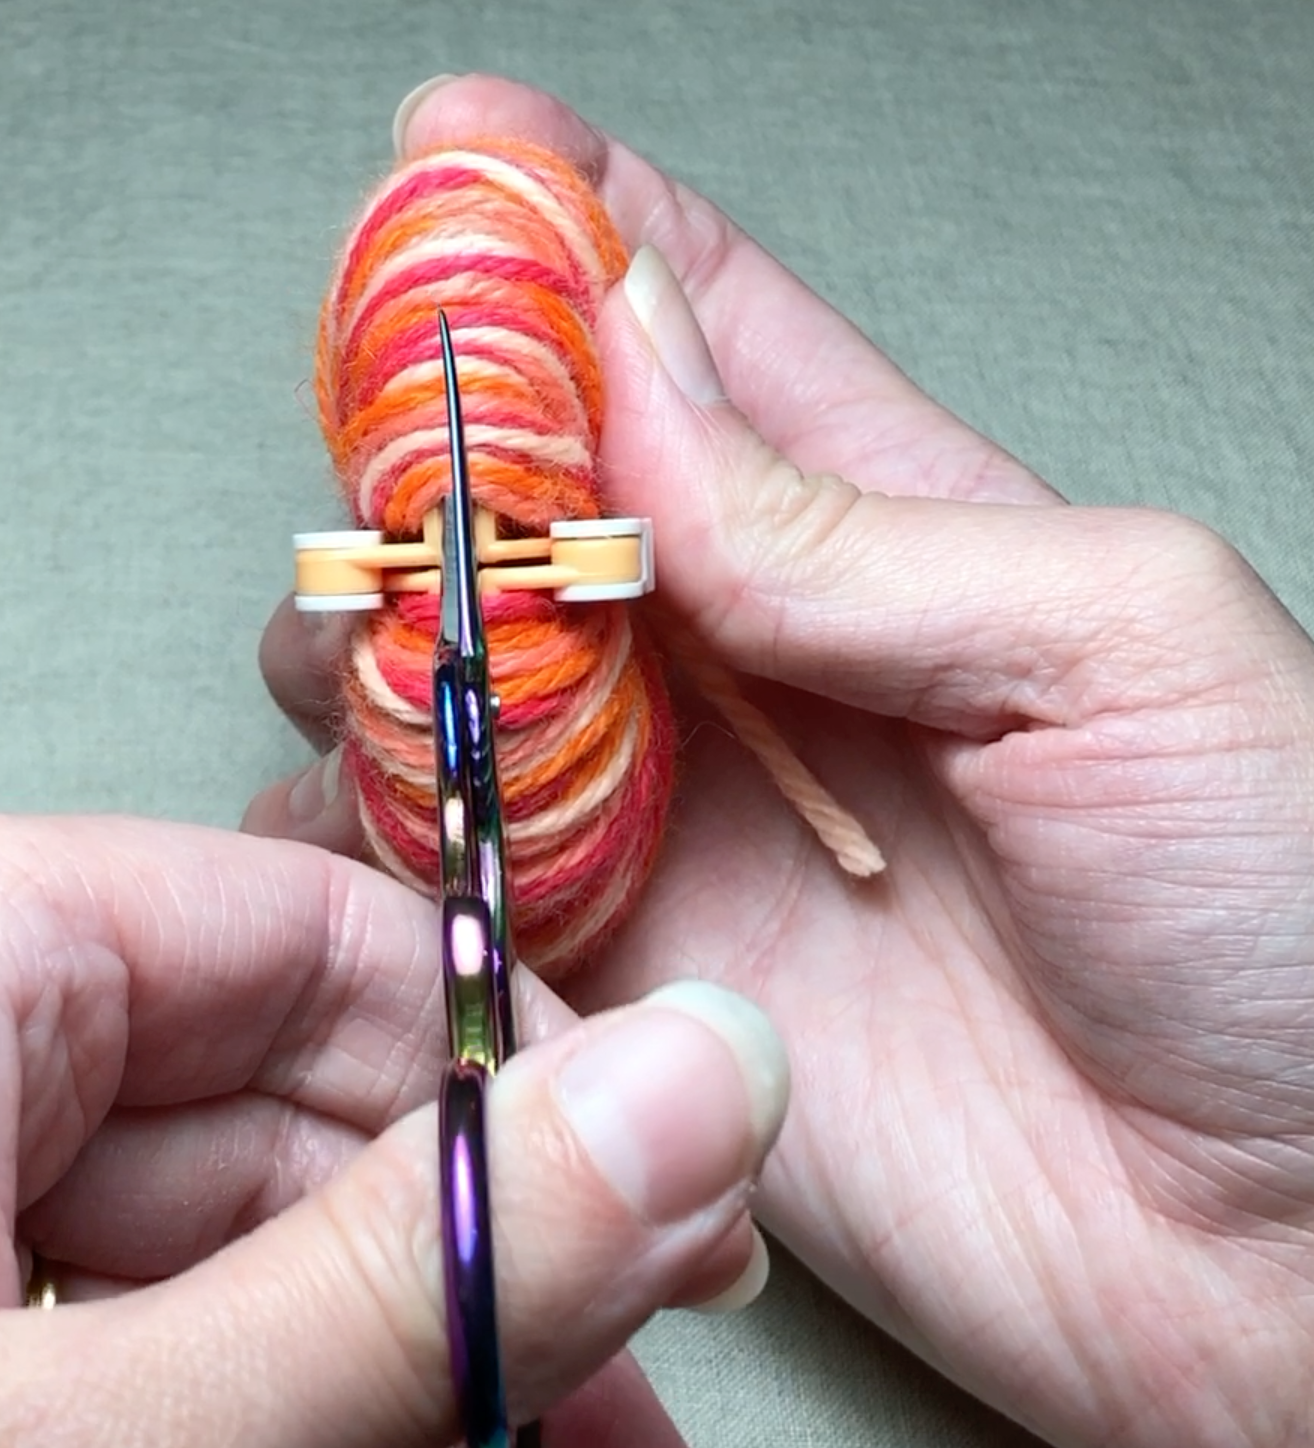
Cutting the yarn
You’ll need a really sharp pair of scissors. Cut open the yarn around the edges between the two halves of the pompom maker or template. Hold the pompom in the middle and no yarn should fall off.

Pull tight
Use double strands of yarn and wind twice around the pompom between the two halves of the pompom maker/template. Pull really tight and tie off with a double knot, do NOT cut the long strands if you want to use them to attach your pompom.
When tying the pompom, use a strong yarn, like wool with a little bit of nylon/acrylic or cotton. A pure wool yarn can easily snap and is not great for tying a pompom.

Trim it
The pompom will come out with a slight egg shape, that’s normal. The pompom will need trimming so there are no strands sticking out and it has a nice rounded shape. Use sharp embroidery scissors and trim a little at the time until you’re happy with the shape.

Fluff it!
Put the pompom in a sieve above a little bit of boiling water and shake around for a few minutes. The steam will open up the yarn ends and make the pompom even fluffier and give it an almost velvety surface. This works especially well on pompoms made in a yarn with wool content.
Watch out for the steam, it’s very hot!